Categories: Intermediate
X10 modules are cheap and everywhere, in order to integrate these modules into your DIY home automation system it is nice to have a bridge that can monitor X10 traffic and convert it to MQTT.

Hardware:
- BeagleBone Green
- 4-8GB MicroSD card
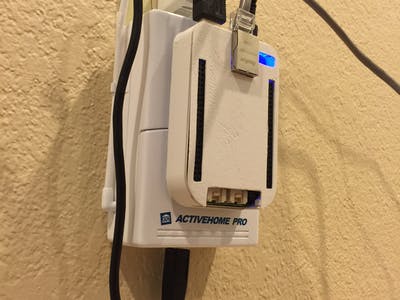
- CM15A
- 3d printed case
- USB power adapter
- USB cables
PC Software:
- Latest BeagleBone Debian image
- Win32 Disk Imager to write the image to SD card
- MQTT test client
- PuTTY
BeagleBone Green Software:
- Update apt-get
- libusb-1.0-0-dev
- mochad
- Node-RED
- Mosquito
Latest BeagleBone Green image
The BeagleBone Green uses the standard BeagleBone image that is also used on the Black.
You can download it from here
https://staging.digitalblender.co/latest-images
and also find information on how to write the image to your SD card. You might use win32Diskimager to write the image to your SD card.
https://sourceforge.net/projects/win32diskimager/
Getting started with the Beagle Bone Green
The BeagleBone Green is a single board computer similar to raspberry Pi. Some of the differences in the BBG is the addition of grove sensor connectors to allow you to use SeedStudio grove sensors in your projects.
Plug in your BeagleBone Green, it will appear as a hard drive on your computer, run START.htm or follow these instructions.
http://beagleboard.org/getting-started
In order to start installing stuff on your board you will want to use SSH, download and run Putty.
http://www.putty.org/
Command Line Stuff
I will try to list all the instructions but inevitably I will leave something out or things can also change. Remember, google is your friend, just do a web search when you get stuck with something, you will probably find that someone has probably already posted how to do whatever you are struggling with.
Install mochad.
http://x10linux.blogspot.com/2012/08/installing-mochad-on-raspberry-pi.html
$ sudo apt-get update
$ sudo apt-get install libusb-1.0-0-dev
$ wget -O mochad.tgz
http://sourceforge.net/projects/mochad/files/latest/download
$ tar xf mochad.tgz
$ cd mochad*
$ ./configure
$ make
$ sudo make install
Install Node-RED
on your BeagleBone and also install it as a service, follow these fine instructions.
http://nodered.org/docs/hardware/beagleboneblack
Install Mosquito
$ sudo apt-get install mosquitto
It’s that easy!
Plug in the CM15A USB cable
Open the Node_RED web config
Figure out the IP address of your BBG
sudo ifconfig
Open a web browser and aim at the BBG IP address and add :1880. (i.e. http://192.168.1.202:1880/)
Copy one of my flows at the following links.
Just the bridge
http://flows.nodered.org/flow/7f5ec8693a62d6ce00c1
The whole demo with IP address and email out
http://flows.nodered.org/flow/2b5234193c9abe6055ee7fcdf08faacf
Use the Node-Red menu to import the flow.
Deploy.
Test
Open up a MQTT test client, aim it at your BeagleBone green.
http://www.hivemq.com/blog/seven-best-mqtt-client-tools
Send some X10 commands!!
Comments are not currently available for this post.